
Open Destinations in eventabee before starting this guide.
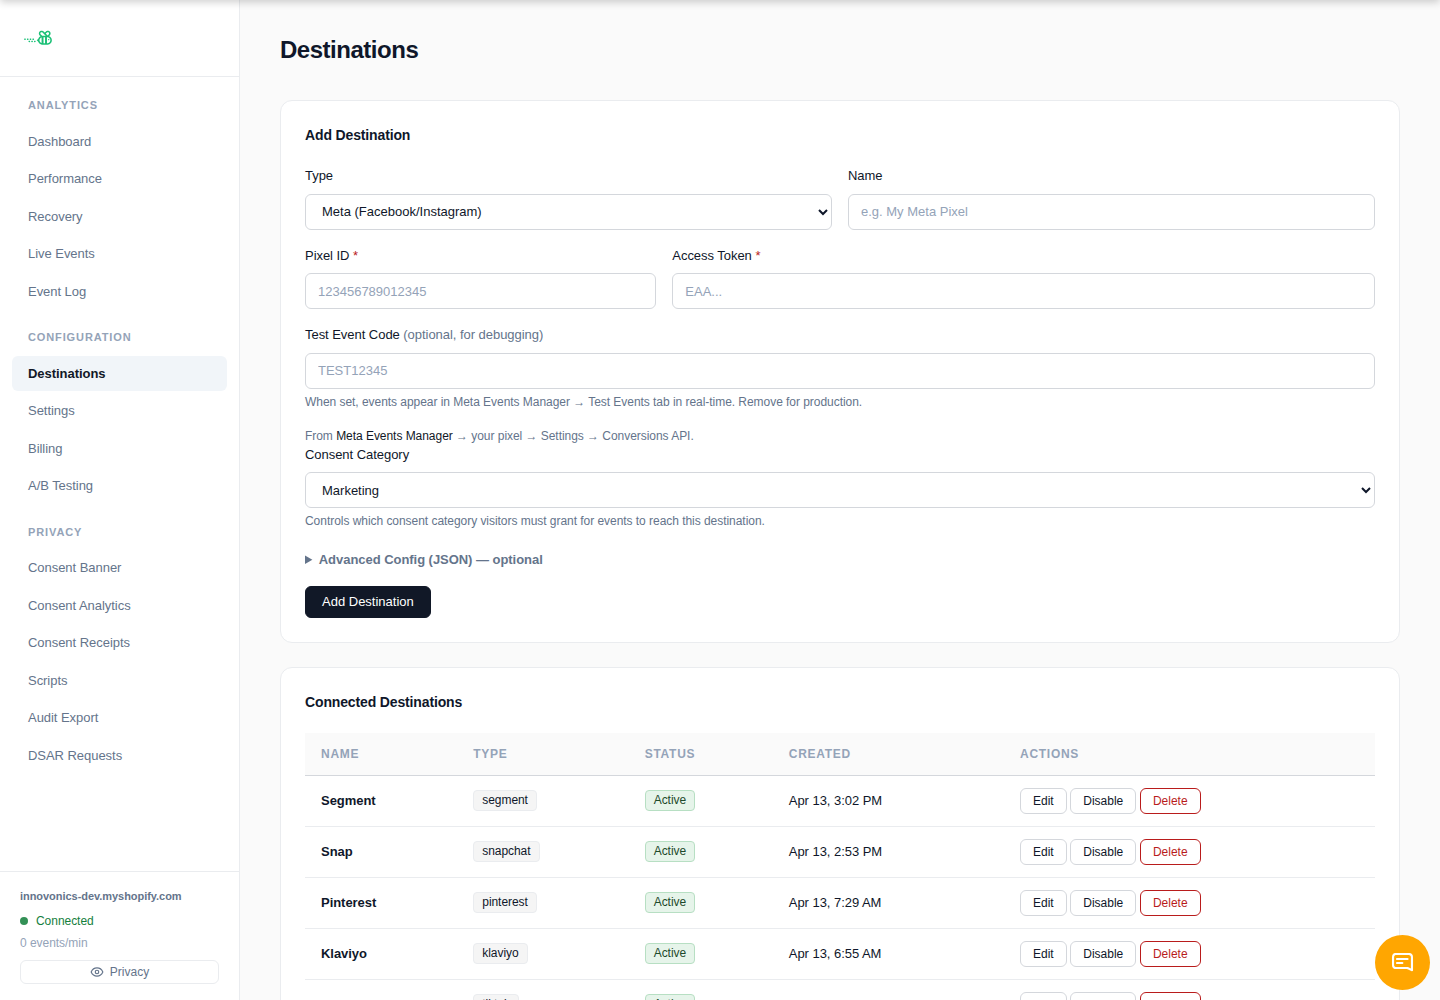
Click Add Destination, choose the destination type when it is available, give it a clear name, and save it. Then click Edit on the destination to fill in the structured fields and set the consent category.
If the type is not shown in the Add Destination menu, use Request a destination instead. eventabee currently exposes Meta, Google Analytics / Ads, TikTok, and Webhook directly in the add form; additional first-party connectors can be provisioned after review.
1. Confirm availability
Snapchat may not appear in the standard **Add Destination** type menu. If it is not visible, open **Request a destination** from the Destinations page and submit the vendor, account details, intended events, and consent category.
2. Gather credentials
Prepare the required credential set for Snapchat: **Pixel ID, Access Token, and optional Test Event Code**. Keep tokens private and paste them only into eventabee's destination editor or a secure support channel when requested.
3. Configure after provisioning
Once the connector is enabled for your store, click **Edit** on the destination and complete the structured fields. Set **Consent Category** to **Marketing** for advertising/activation tools, or **Analytics** for analytics-only use cases.
4. Verify
Trigger a storefront event, open **Event Log**, and confirm the delivery row is sent successfully. Then verify the event in Snapchat's own event/debug view.
Troubleshooting
- If the destination type is missing, use the request flow instead of trying to force a webhook unless the vendor specifically supports generic webhooks.
- If credentials were saved previously, secret fields show as filled; leave them blank when editing to keep the existing secret.
- Consent-blocked deliveries mean the visitor did not grant the selected consent category.