
Use this guide when the standard Add Destination menu does not include the vendor you need, or when a generic webhook cannot meet the vendor’s API requirements.
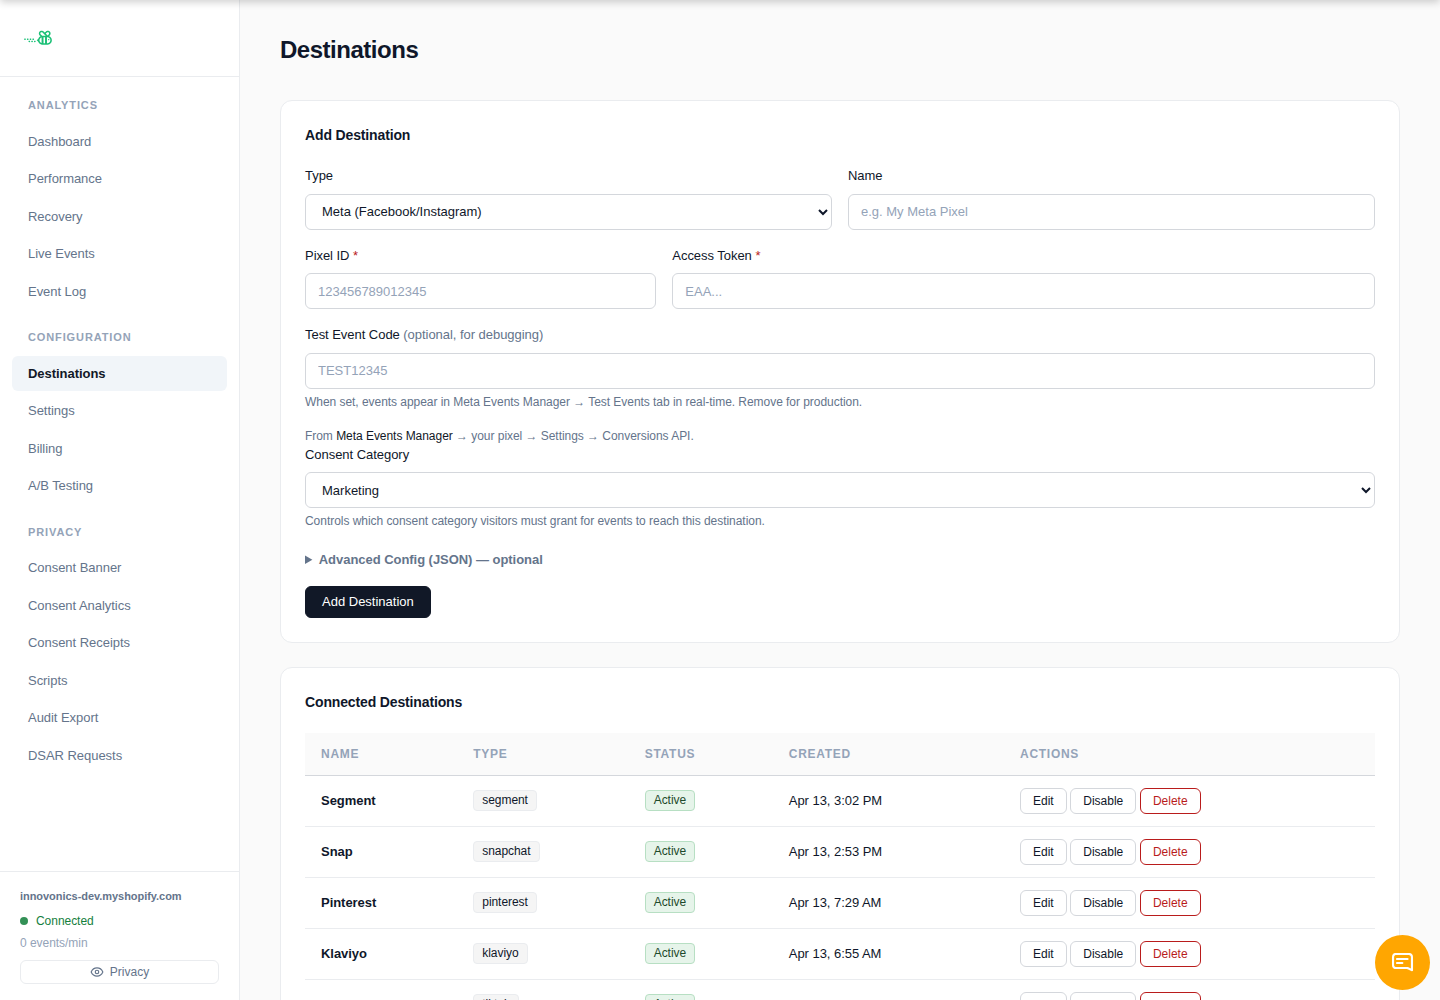
1. Check generic webhooks first
If the vendor can receive a JSON POST at an HTTPS endpoint, start with Connect a generic webhook. Webhooks are fastest when the receiver owns mapping, auth, and validation.
2. Gather vendor requirements
Before submitting a request, collect:
- Vendor name and documentation URL.
- Required account IDs, pixel IDs, dataset IDs, or write keys.
- Authentication method.
- Required event names and payload fields.
- Consent category: functional, analytics, or marketing.
- Any test-event or sandbox workflow.
3. Submit the request
Open Destinations → Request a destination. Describe the use case and include links to the vendor docs. Do not paste long-lived secrets into a free-text field unless support has explicitly asked you to do so through a secure flow.
4. Validate delivery
After the connector is provisioned, trigger events from the storefront, inspect Event Log, and verify the vendor’s own debug/event-history view.
When to use webhook vs. request flow
- Use Webhook for internal systems, serverless functions, warehouses, or automation tools that already accept eventabee-shaped JSON.
- Use Request a destination when the vendor needs a signed payload, vendor-specific event names, specific consent handling, or a reviewed first-party integration.